Visualizzazione post con etichetta Timbri hand-made. Mostra tutti i post

lunedì 27 aprile 2020

VideoTutorial: Handmade Stamps and Texture Plates

Hello everyone, on Instagram this month I'm hosting a monthly challenge #craftingwithgiogio and one of the last prompt was stamping: so I put together a video tutorial where I show how to make stamps and texture plates from fun foam:
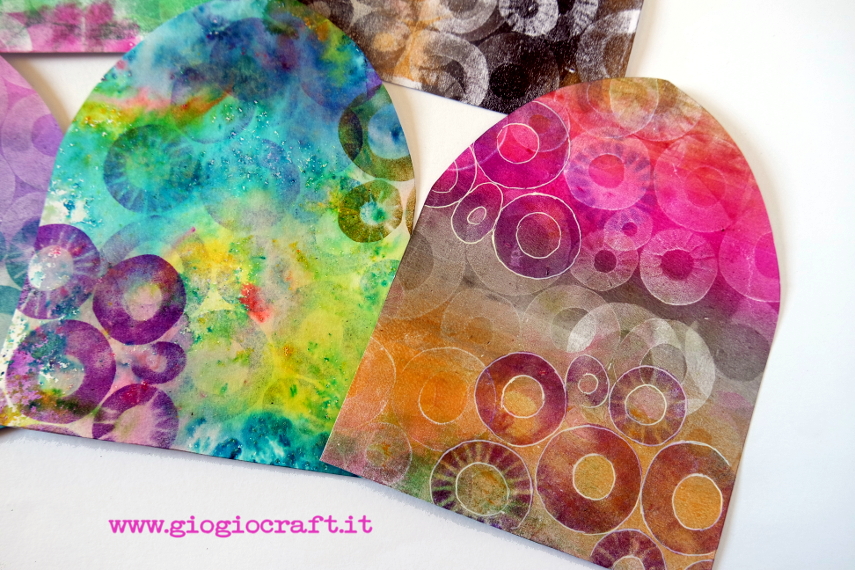
This is the tryptich closed:

And some details:

These are some of the prints I made, as usual I couldn't stop...
Even with fun foam leftovers you can do magic!

Stencils 'Funky Village', 'Spread your wings' and 'Fly with me' available in my Etsy shop.

giovedì 14 febbraio 2019

DIY Floral stamps: A GelPrinted Desk Organizer

Well, as long as I fell in love with my new hand-made fun foam floral stamps (video tutorial here), I've already made tons of gelprints!What to do with them? Put in a drawer? No no...So I gathered some empty cardboard boxes (courtesy of DecoArt Blogger Outreach Program, originally full of marvellous paints), assembled a bit with masking tape, and with the help of lot of tacky glue I created a colourful and useful desk organizer:
Nel momento in cui ho scoperto l'effetto dei miei timbri fatti a mano in gomma clepra sul gelli plate (qui il video tutorial), mi sono girata e tadà, ero piena di stupende carte gellate! Cosa farci? Mica si potevano nascondere in un cassetto...no no: ho preso qualche scatolina vuota di cartone, le ho assemblate con dello scotch di carta e con l'aiuto di molta colla le ho ricoperte pazientemente: adesso ho un utile e colorato contenitore per la scrivania! 

The rounded pencil holder is made of stacked empty tape rolls
Il portapenne è formato da rotoli di scotch vuoti
A bit of stamping and stencilling and washi tape to give a finished look to the edges:
Un pò di timbrate e stencils e del washi tape per rifinire gli angoli

lunedì 11 febbraio 2019

VideoTutorial: Handmade floral stamp for gelprinting

Many many years ago I created a set of handmade large floral stamps out of fun foam: of course I didn't have the slightest idea where I put them, and I thought these would be perfect to use for gel printing. So I made a new video and wow, these not disappointed me! Over the next blog posts I will be showing two more craft projects I made with these prints (hint: watch the video 'til the end)
Qualcuna di voi ricorderà un mio video vecchissimo in italiano nel quale realizzavo dei maxi timbri dalla gomma crepla, ho pensato che sarebbero stati perfetti per il gel printing, così ho realizzato un nuovo video e avevo ragione, adesso li uso dappertutto! Nel video vi mostro come realizzarli e usarli. Nei prossimi post vi mostrerò altri due progetti realizzati con queste carte gellate, un indizio alla fine del video!

La rosa si realizza con gli avanzi di gomma clepra montati su polistirolo:
You can make the rose stamp out of fun foam leftovers:
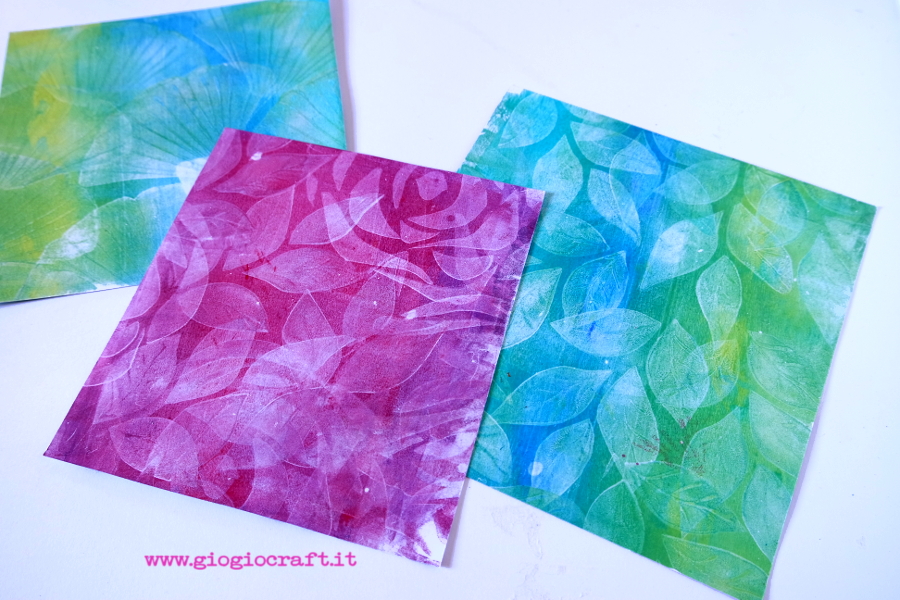
These are parchment paper sheets:
Sulla carta velina:
E qui il mio nuovo set:
Here my gloriuos new stamp set
Some easy cards made with these background paper:
Alcune cards fatte con gli sfondi gellati

martedì 20 settembre 2016

A mini Christmas dream: Altered mini house

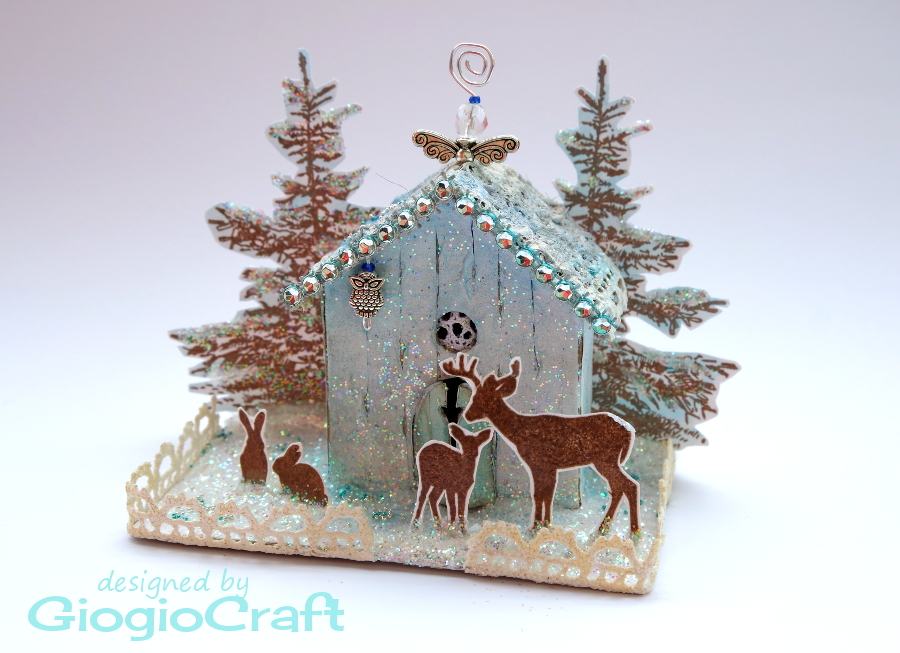
It's already Christmas on the IndigoBlu blog where we're already celebrating with a lot a beautiful and wonderful projects from the team. Here's my first effort, I created a winter-ish, magical 3D scenery out of a papermache mini house:
E' già Natale sul blog della IndigoBlu, con dei bellissimi ed inusuali lavori da parte di tutto il team. Questo è il mio primo post, dove ho alterato magicamente una piccolissima casetta di cartapesta. 
And after lot of Unicorn Sparkles....
Dopo un sacco di polvere di unicorno...
And cute hares
E leprotti
And unexpected owls
E gufetti che non ti aspetti
And lovely deers
E cerbiatti, naturalmente
Questo il passo passo
The step by step:
Glue down some bits of laces to the roof to get texture
Incollare dei pezzetti di pizzo per ottenere della texture
Tagliare la porticina
Cut a little door
Cover with thin strips of masking tape
Ricoprire con della striscioline di nastro carta
Gessare
Cover with gesso
Cut a piece of heavy cardstock, cover it with Super thick Slap it on and pour Unicorn Sparkles
Tagliare un rettangolo di cartoncino, ricoprirlo con colla spessa e versare del glitter
Adhere also the mini house
Far aderire anche la casetta
Spruzzare del colore blu diluito
Spray with a light blu mist
Stamp the trees, deers and hares
Stampare i vari dettagli come gli alberi, i cervi ed i leprotti
Assemblare il tutto
Put everything in place.

Products I used:
Winterland Wood A5 Red Rubber Stamp - by Kay Halliwell-SuttonGeeSso Good! Gesso - White 120mlUnicorn Sparkles - Magical glitter (60ml)IndigoBlu Slap It On - Super Thick

venerdì 12 agosto 2016

Tutorial : Hand-made rubber stamps from...

Reminder post for TIMI CraftStamper magazine challenge blog where the theme is "Stamp and Masks" (and of course stamps). It's been a while since I made every background on my ArtJournals just cleaning the stencils from ink or paint and then starting from there. Today I show you how to make stamps from...an hot-water bottle! I confess, I suffer of cold feet, and I can't sleep without my beloved hot-water bottle, let's say I use it 9 months per year, and I live in the South of Italy! But tragedy is just around the corner: when you found out the bed is totally wet...and there's a hole in the bag. What we do then, throw away that lovely textured rubber? No no. We create some background stamps, of course!

Ed il nuovo tema sul challenge blog di TIMI CraftStamper magazine è 'Maschere e Stencil" (e timbri, naturalmente). Ormai è da anni che preparo gli sfondi sul mio ArtJournal pulendo gli stencils usati per altri progetti dagli spray o dagli acrilici, insomma mai più blocco da pagina bianca. Oggi vi mostrerò come si possono creare dei timbri da una...borsa dell'acqua calda! Soffro di cattiva circolazione (fare sport non è proprio la mia attività preferita, diciamo) e quindi 9 mesi all'anno dormo con la borsa dell'acqua calda. Ma può capitare che ti svegli durante la notte e il letto è tutto bagnato: la borsa si è irrimediabilmente bucata, ma che fai mica la butti, con quella bellissima gomma di cui è fatta. No , si ricicla per fare dei timbri.

Allora si taglia la parte piana (io avevo due texture diverse sui due lati):
Si tagliano delle formine semplici come cuori, rombi e cerchi
Cut out simple shapes
Si monta se si vuole su del polistirolo
Mount them on polystyrene with a good glue
Si timbra con i colori acrilici o tamponi
Have fun!


TIP: La gomma si può anche tagliare con la Cuttlebug o Big-Shot
You can even die-cut this rubber.
And the sponsor of this month is ....ME!
And you can win 4 of my stencils, my bestselling ones:
Partecipando alla sfida si possono vincere 4 dei miei stencils più di successo: